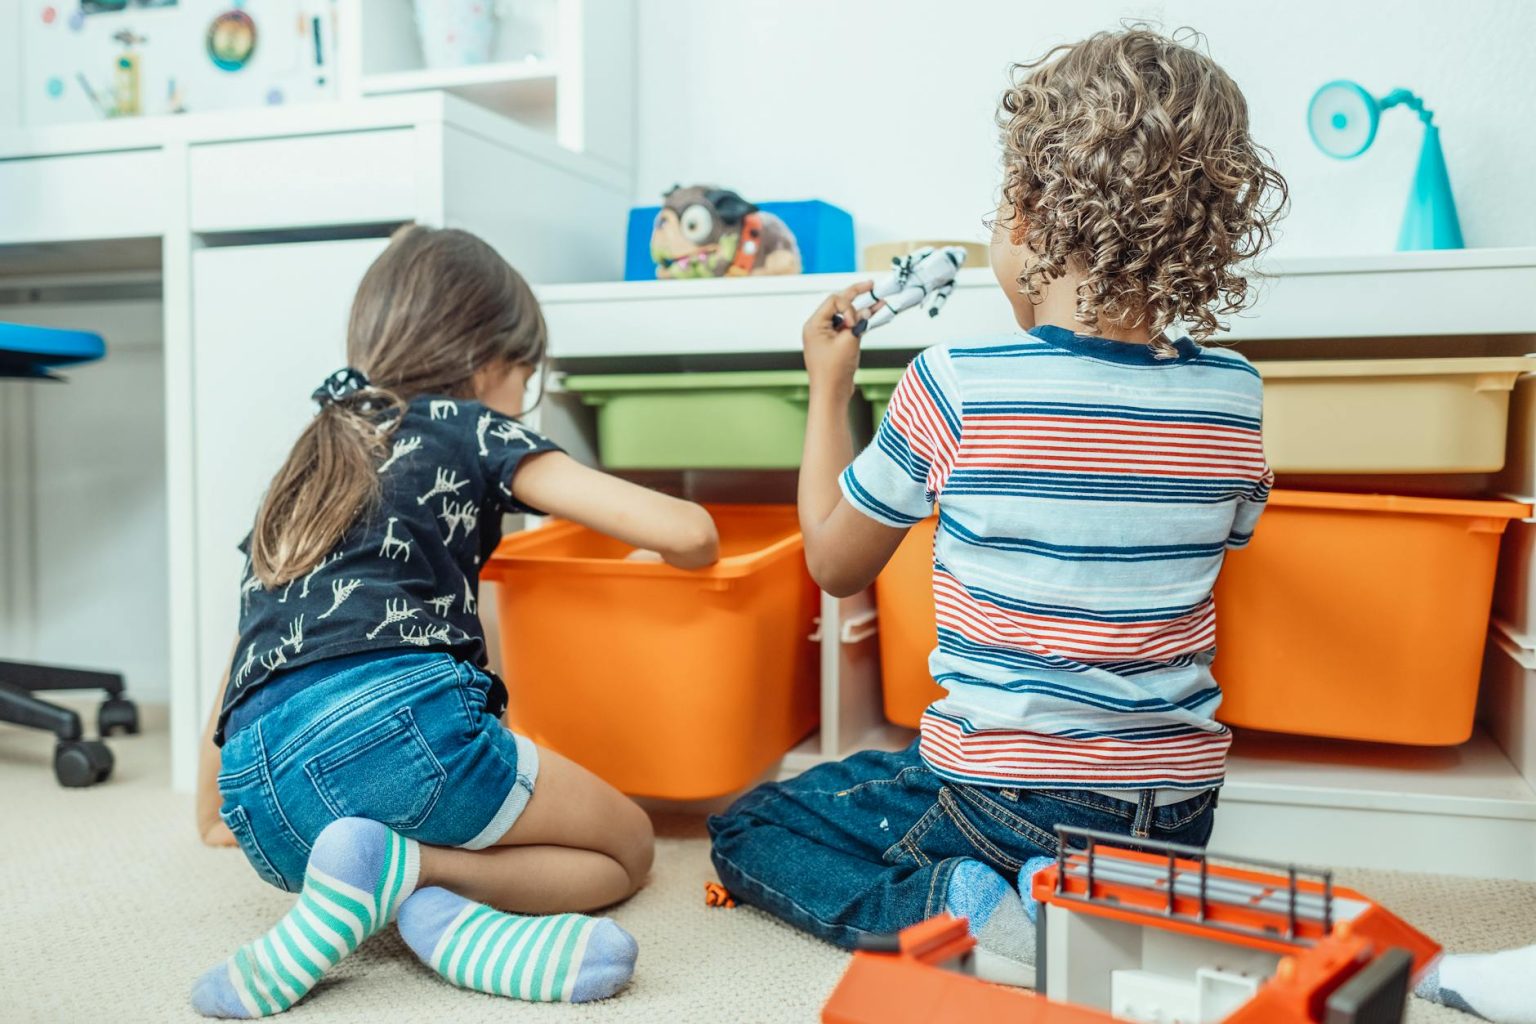
Toy storage can quickly become a mess, making it difficult to keep a child’s room neat and organized. If you’re looking for a quick and stylish way to upgrade your toy storage, peel and stick wallpaper is a fantastic solution. This easy-to-use material can transform plain storage units, toy bins, or shelves into a decorative piece that blends well with your child’s room theme. Best of all, it’s a hassle-free DIY project that requires no professional help.
Why Choose Peel and Stick Wallpaper?
Peel and stick wallpaper is a game-changer when it comes to home decor. It’s affordable, easy to apply, and available in countless designs to match any style. Whether you want a fun, colorful look or a soft, neutral aesthetic, there’s a wallpaper pattern that will fit your vision. Since it’s removable, it’s also a great option for renters or those who love changing decor frequently.
For a charming and playful upgrade, consider using flowers wallpapers on toy storage units. These patterns add a cheerful touch to a child’s space, making storage both functional and visually appealing. Floral designs can work well for a nursery, playroom, or even a shared sibling space.
Steps to Transform Toy Storage with Peel and Stick Wallpaper
1.Choose the Right Wallpaper Design
Start by selecting a wallpaper that complements the room’s decor. Look for patterns and colors that match your child’s interests. If you prefer a more subtle style, opt for neutral tones or soft pastels. On the other hand, bold and vibrant prints can make a fun statement.
2.Prepare the Storage Unit
Before applying wallpaper, clean the surface of your toy storage unit. Wipe off dust and dirt to ensure a smooth application. If your storage bins or shelves have a glossy finish, lightly sanding them can help the wallpaper stick better.
Using self adhesive wall paper makes the process even easier since it eliminates the need for additional glue. This type of wallpaper is designed to stick firmly while also being easy to reposition if needed.
3.Measure and Cut the Wallpaper
Measure the sections of the toy storage unit where you want to apply the wallpaper. Mark these measurements on the back of the wallpaper and carefully cut along the lines. It’s always a good idea to cut slightly larger pieces than needed—you can trim the excess after application.
4.Apply the Wallpaper
Peel off the backing of the wallpaper and start applying it from one edge, smoothing it out as you go to prevent air bubbles. A credit card or wallpaper smoothing tool can help you press the wallpaper down evenly. If you make a mistake, simply peel it back and reapply.
5.Trim and Finish
Once the wallpaper is in place, use a utility knife or scissors to trim any excess along the edges. If your toy storage unit has drawers or multiple sections, repeat the process for each part.
Additional Tips for a Perfect Toy Storage Makeover
● Mix and match patterns – You don’t have to stick to just one design. Combining different wallpaper styles can create a unique and playful look.
● Use wallpaper inside shelves – Lining the back of open shelves with wallpaper adds a subtle yet stylish touch.
● Involve your child – Let your little one help choose the wallpaper design or assist with simple steps like peeling and sticking. This makes the makeover more fun and engaging.
● Opt for durable wallpaper – Since toy storage gets a lot of use, choose a high-quality, washable wallpaper that can withstand daily wear and tear.
The Benefits of Using Peel and Stick Wallpaper
● Easy to apply and remove – No need for messy glue or professional installation.
● Budget-friendly – A cost-effective way to update toy storage without buying new furniture.
● Customizable – Endless designs allow you to personalize the space according to your child’s style.
● Rental-friendly – Since it’s removable, you can easily change it without damaging surfaces.
Final Thoughts
A toy storage makeover with peel and stick wallpaper is a simple yet effective way to refresh a child’s space. With a little creativity, you can turn ordinary storage units into eye-catching decor pieces. Plus, since it’s an easy DIY project, you can complete it in just a few hours without any special skills. So, grab your favorite wallpaper and give your toy storage a stylish new look!

